Tag: Fineview Forge

  • I’ve got a problem with me knob…

    I’ve got a problem with me knob…

    I have a friend called Colin. Colin is a great bloke. Towards the end of last year, he came to me with a bit of a problem. It turns out he was having bother with his knob.

    No, hang on, that doesn’t sound right.

    OK, he was having trouble with his rusty ring.

    No, no, that doesn’t sound any better.

    OK, where to start. First things first, it isn’t strictly speaking Colin’s knob (or rusty ring).

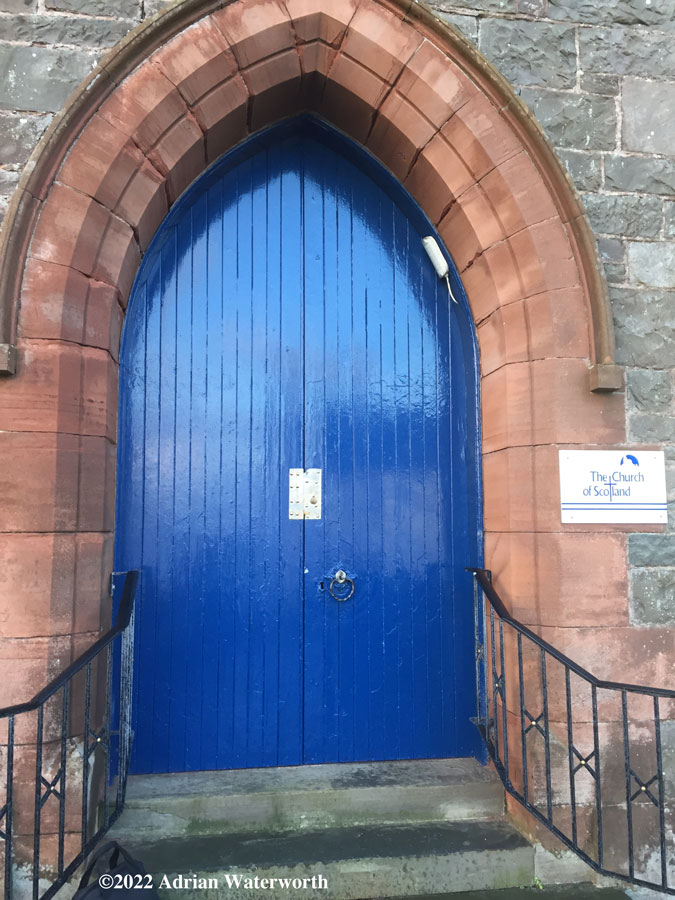
    If it’s anyone’s I suppose you’d have to say it’s God’s. Or, at least, it’s the property of God’s chosen and appointed religious representatives responsible for our local church. It’s the door knob you see. Or the door handle anyway, since it’s a knob on the inside (which is fine) and a rather nice forged ring on the outside (which is not).

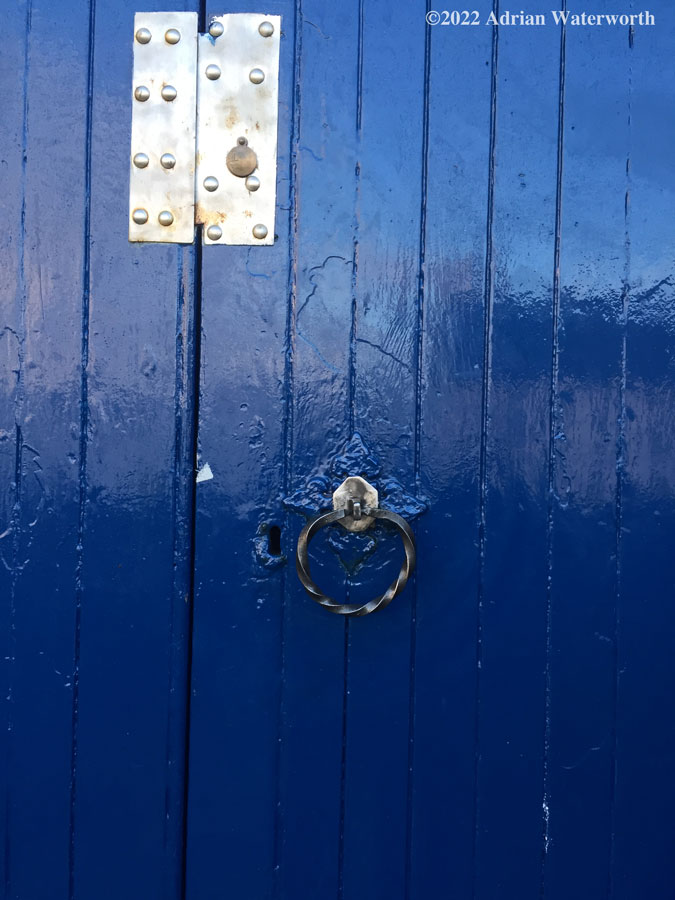
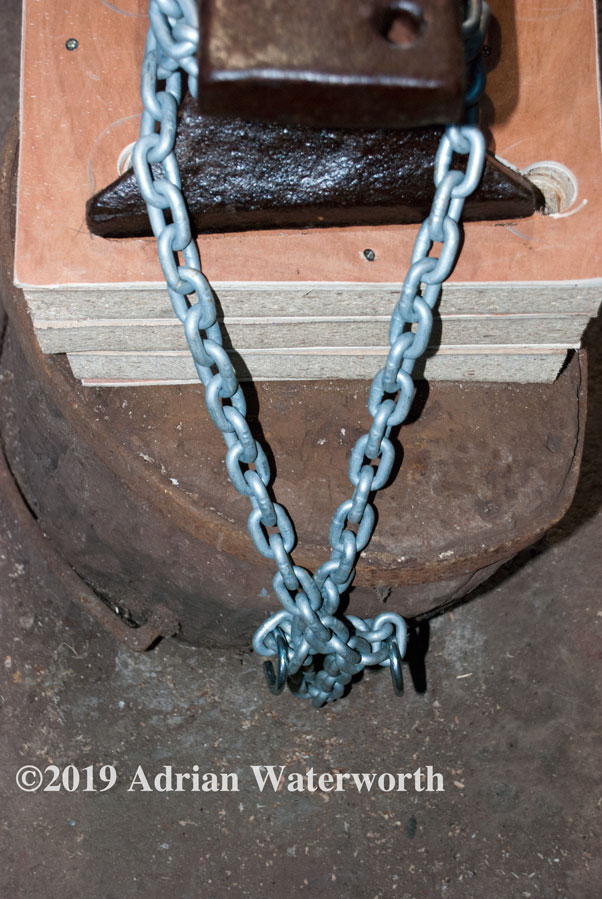
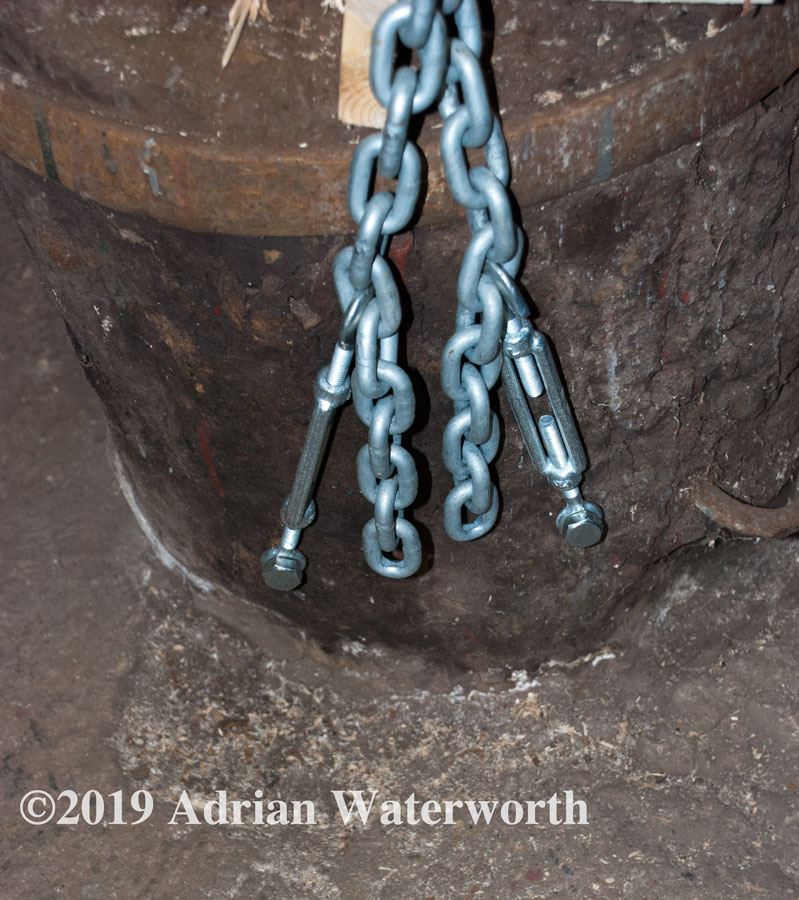
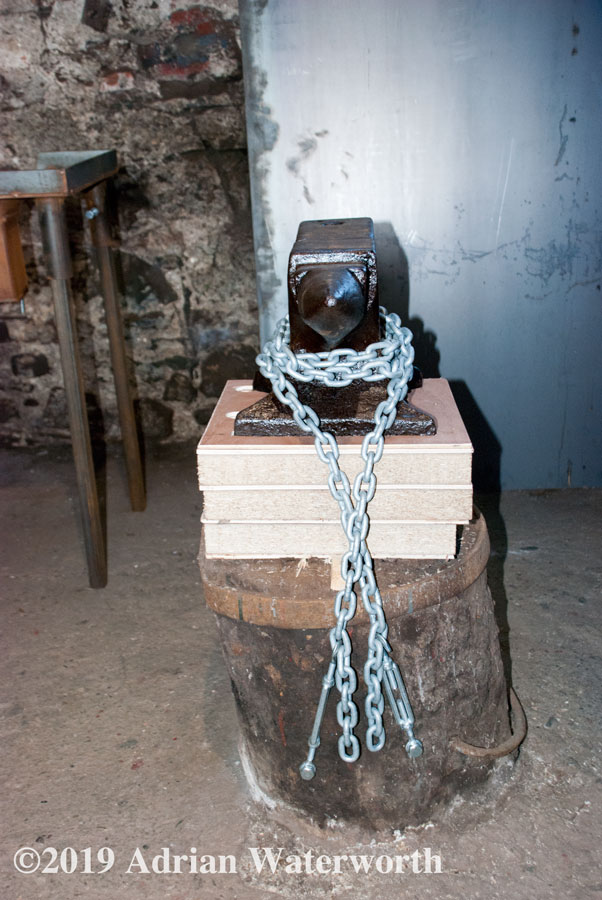
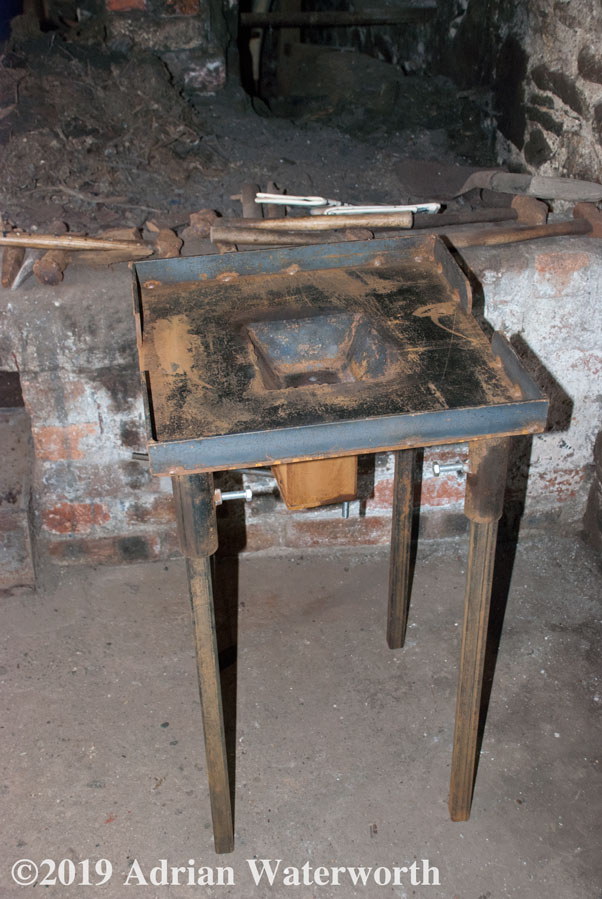
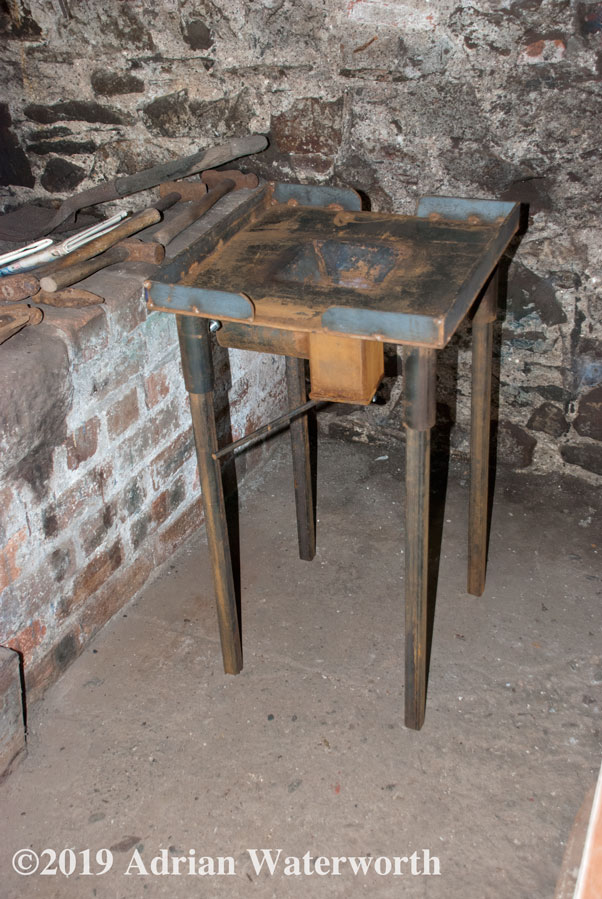
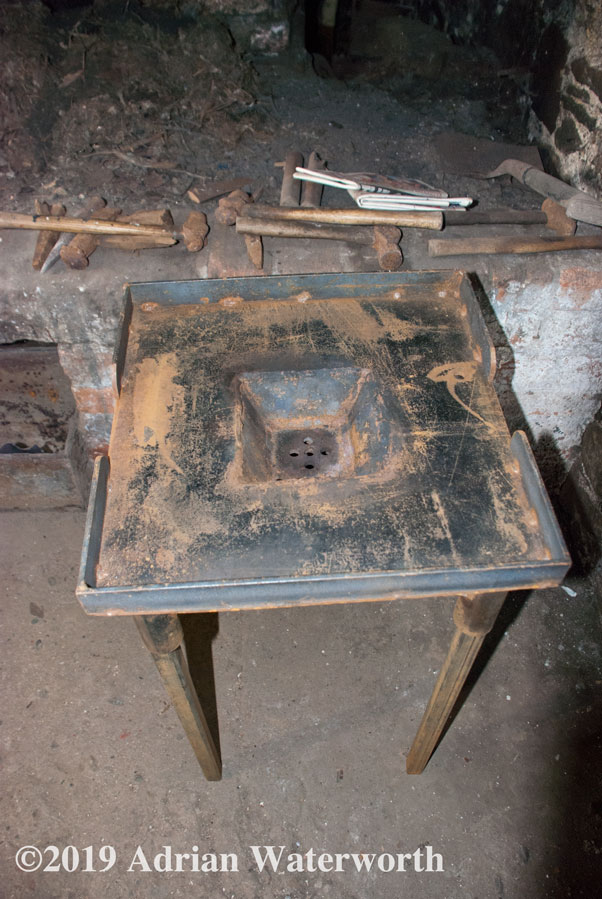
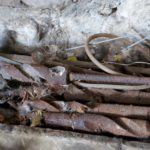
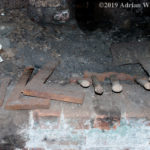
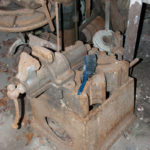
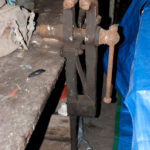
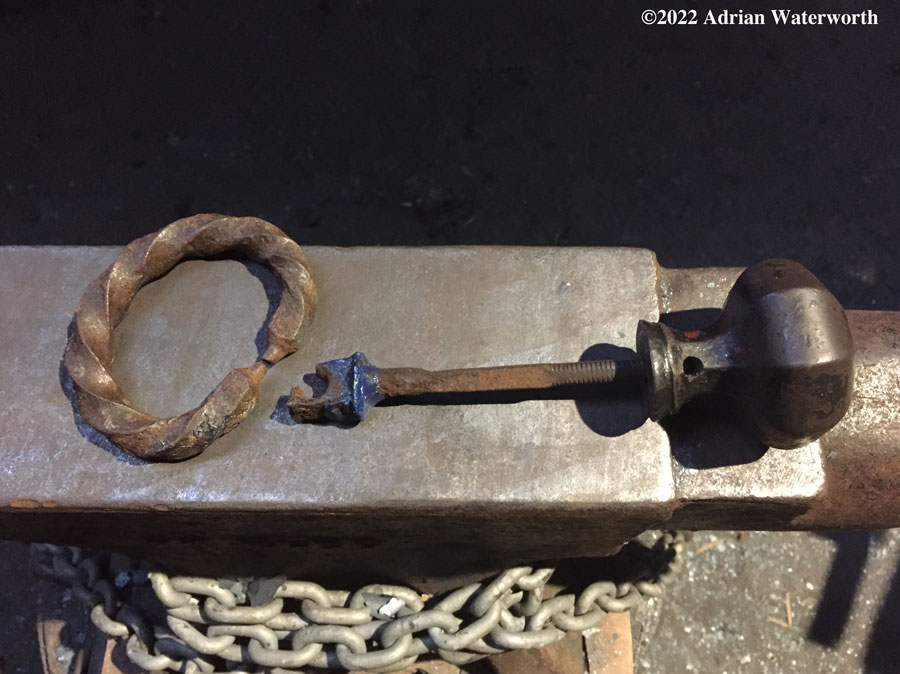
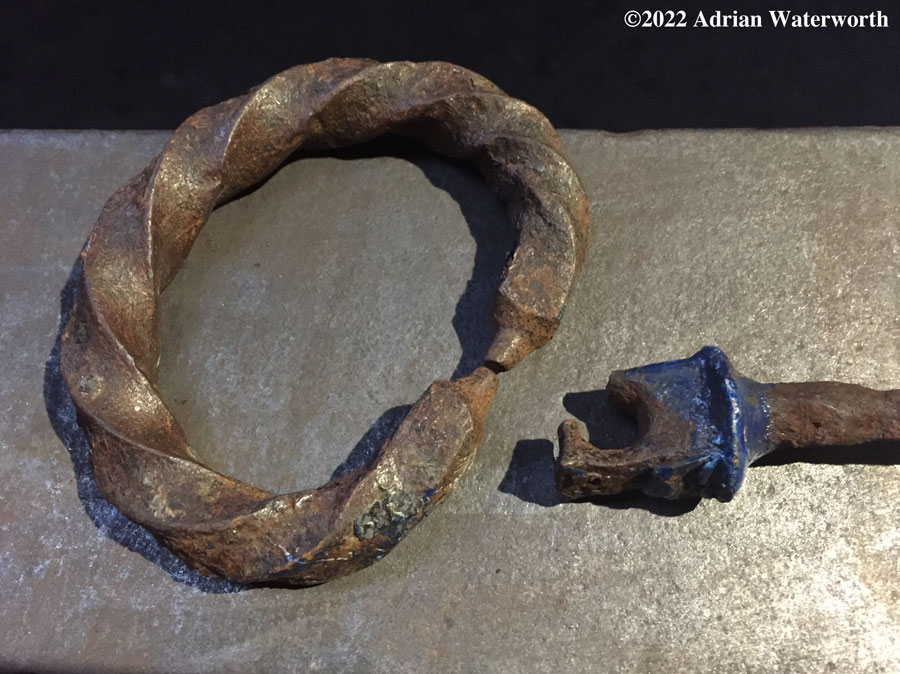
    Years of use had seen the little piece of metal that holds the ring wear away to a sliver and then, ultimately, to nothing at all with the inevitable result that the handle had become detached altogether (see Exhibits A and B below).

    Broken church door handle
    Exhibit A – this one don’t work no more!
    Detail of broken handle
    Exhibit B – very broken indeed

    So, the question is, could your friendly local blacksmith-in-training fix it? At first, I thought I’d just cut the end off, forge a new piece to hold the existing ring and then weld that back onto the existing bar that goes through the door. Then I had second thoughts. And third thoughts. And maybe even fourth thoughts.

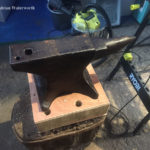
    Step 1 – I’ll make an entire new bar to pass through the door. While secure enough, the existing one didn’t seat fully into the door knob on the inside. It was also looking a bit old and worn. Unfortunately, the smallest square bar that I had to hand was too big to fit into the hole on the knob. So an interesting exercise in delicate forging ensued as I had to take at least 150mm of slightly fatter square bar and consistently reduce its thickness by only a millimeter or two, while retaining its squareness. Normally you might do this with some kind of draw plate or rolling machine but I don’t have either so it was all done old-school with the hammer and anvil. Once done, I needed to drill a hole in the end in just the right place for the bolt that holds the knob onto the bar. This is a hole that is nearly as wide as the bar itself so this was a slightly scary bit – one slip with the drill and it would cut through the edge of the bar and I’d have to start all over. Thankfully, I managed it.

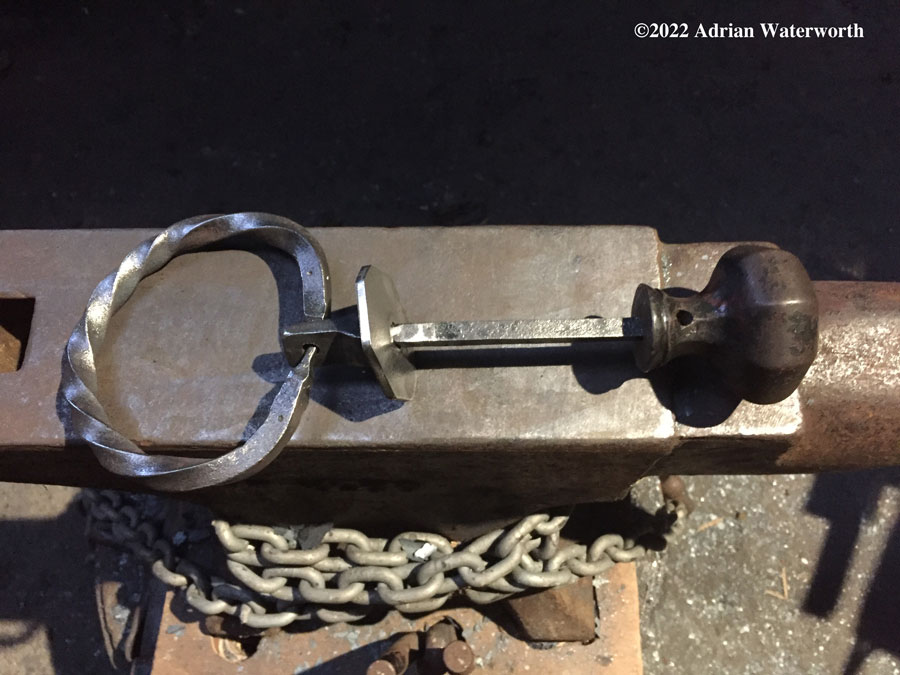
    Step 2 – forge a new piece to hold the handle (ring). This involved starting with a thicker piece of square bar and then using a spring fuller and working it on the anvil to flatten the end evenly on both sides. Once flattened to the right sort of thickness, a hole could be drilled to take the ring. Then the new piece could be welded onto the end of the new bar. (Forging this was probably the easiest part of the whole process.)

    New door handle
    Shiny new door handle

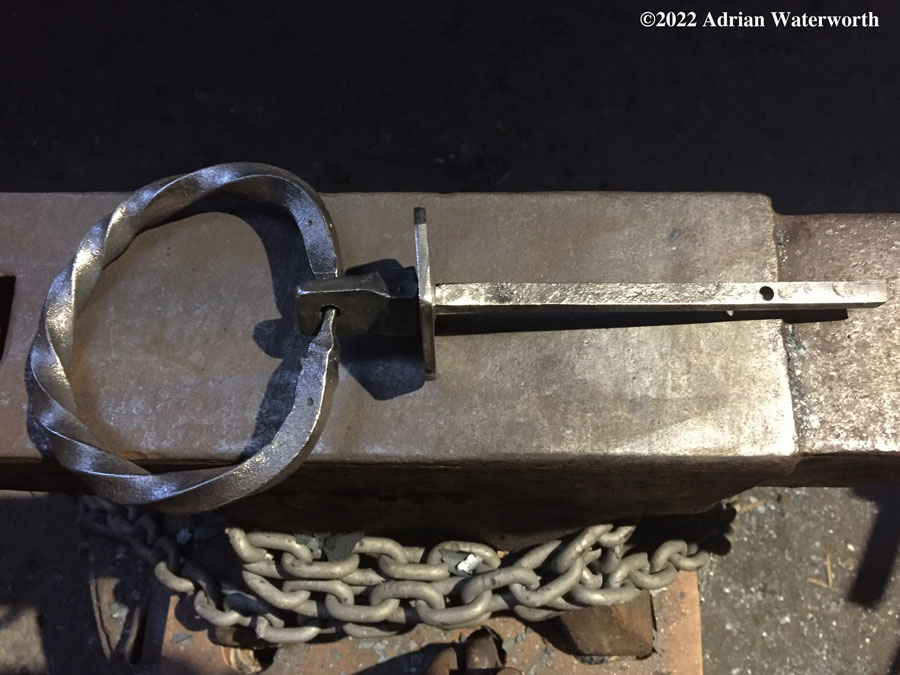
    Step 3 – forge a new ring for the handle. The old one was a bit small, so I ended up making the new one a fair bit bigger as well so it’s easier to hold and turn. This was another little challenge as I first had to put a nice even twist along most of the length of 270mm of square bar. I then had to find a way to bend it into the right sort of shape without knocking the edges off the twist. This one, I admit, took two attempts to get right and finally involved making the twist in two separate sections that had to line up with one another. Slightly tricky but I got there. I also had to forge down the ends of the ring into little pointy things that would fit through the hole where it attaches to the door fitting.

    Step 4 – after a visit to see the church door in question, I noticed that there is a rather large hole where the bar passes through the wooden door to reach the latch mechanism inside. So I’ll make a little back plate that fits onto the bar where it goes through the door and sits just behind the external handle (the ring). This was mainly just fabrication (cutting the plate) although I had to make the hole in the centre square so that it turns with the bar. That needed to be done with the metal hot and using a square punch but I didn’t have one. Luckily I’ve still got some lengths of tool steel in stock so a square punch was duly forged and then used to punch the hole in the plate. Result!

    New handle detail
    New ring and back plate to hide hole in door

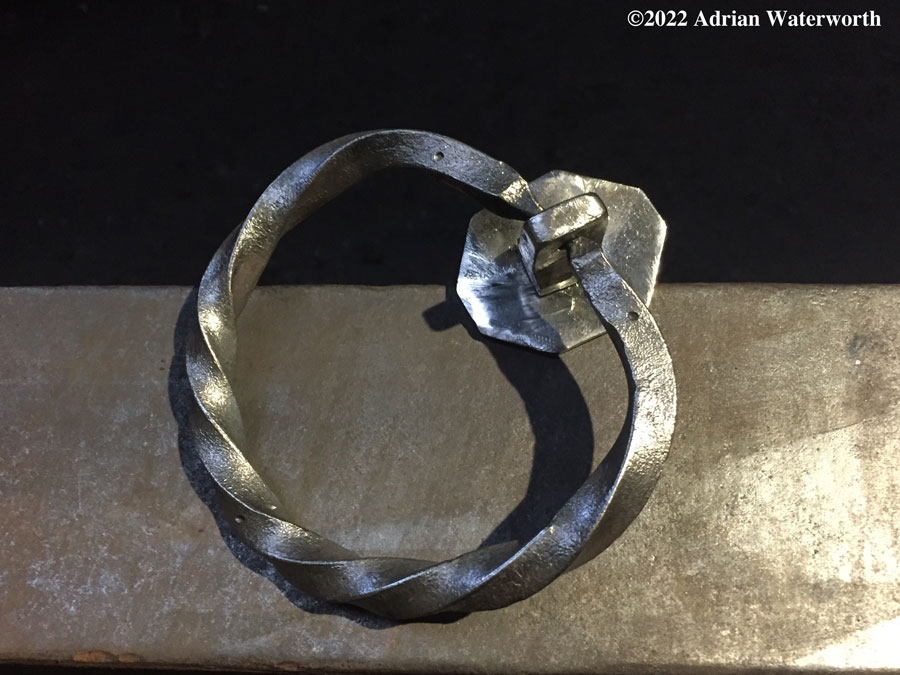
    So, after two or three sessions in the forge (and, to be fair, quite a long while after Colin first asked me about it) the job was finally done.

    If I’m honest and being my perfectionist self, there are several things that bug me about it. The shaping of the ring isn’t quite symmetrical, the ends of the ring aren’t quite the same and one of them got a bit bashed while I was forging it down. The welding where the ring holder attaches to the bar could also be a lot better (although it will thankfully be fairly well hidden once the whole thing is in the door). However, overall, I’m happy with how this has come together and, although I’m not really religious myself, it does give me pleasure to think that I’ve done something good for the church and the local community here. I’m also fairly glad I didn’t need to remake the door knob for the inside! The best way to make something like that is to cast it rather than forge it and I don’t have the wherewithal to start up a foundry and casting business alongside the blacksmithing. So the original door knob will still be doing its duty on the inside of the church door but everything else is new and, hopefully, will last as long as the original one did before someone has to fix it again one day.

    UPDATE: The new handle has now been fitted and, even if I say so myself, looks rather fine.

    Church Door
    The church door, complete with new handle…
    Church Door Handle
    …in all its glory.
  • Forging ahead…

    Forging ahead…

    No, no, it’s OK – don’t all groan at once.

    I bet you all thought that I was getting back into my bad old habits didn’t you? Nothing new on here for over three weeks, but there are good reasons for that – we’ve been a tad busy round these parts. There have been artsy-craftsy events (the Winter Kist in Wigtown) to prepare for and attend, various computer-related bits and pieces to sort out, friends visiting, people and places to go and see and, of course, some more forge-related things to do. For instance…

    I mentioned in my last entry on this blog that I just needed to get the anvil anchored down and the job is now done. The observant ones amongst you might also notice that I’ve added a further layer to the supporting plywood-and-worktop sandwich on which the anvil sits. I ended up doing this as, after wandering around it and measuring it against my height, I decided that it was still slightly too low. Now though, it’s just about perfect. Woohoo!

    Previously, I also mentioned that I was soon going to be in a position to fire up the forge. I’d love to say this is because we’ve already managed to restore the big old original forge here, but we’re nowhere near that stage yet. However, in order to allow me to get on and actually do things and continue learning, I am now the proud owner of a very neat, portable bottom-blast forge, as built and supplied by my occasional teacher/mentor in all things blacksmithery, the talented Mr Andy McKenzie of Feather Forge in Glasgow. It looks a little dirty and rusty, since it has already been used during Andy’s week-long blacksmithing workshop that I attended up in Argyll and Bute earlier this year, but that’s fine. It’s going to be getting a lot more hammer (if you’ll pardon the pun) soon enough and it might even be the actual forge that I used back then (although it’s hard to be sure, since there was a few of us there and we had one each).

    So with the main tools of the trade in place, plus a half tonne of good Welsh steam coal in stock and about a quarter tonne of assorted mild steel in various forms to hand, Fineview Forge will finally be ringing to the sound of the hammer. And possibly the occasional muffled swear if I get things wrong.

    Wish me luck!

  • And slowly and surely…

    And slowly and surely…

    …they drew their plans against us!

    No, Drummore has not been invaded by Martians! It is, however, inching closer to having a working smithy in the village once more. Thanks to Glenda, the old Drummore Smiddy now contains an anvil again. It’s a bit of a baby one (only weighs just over a hundredweight – or around 57kg in new money) and it’s getting on a bit in years, with a few dings here and there, but it’s solid enough and more than serviceable for my trainee blacksmithing purposes.

    I’ve actually had it for a few weeks now, but as you can see above, it needed a good clean up and a good going-over with rust remover/sealer first so that took a little while (in between doing all my other usual day-to-day things). It’s also considerably smaller than the original anvil that was here, so the existing stand (or, rather, stump – a fine old beast of a thing) was going to need building up in order to get the new anvil to around the right working height for me. Again, this has taken a little while, but I was fortunate that I had various offcuts of kitchen worktop and plywood lying around from when we had the new kitchen fitted last year. So, following a week or two of measuring and pondering, I came up with a plan to give the old anvil stump a bit of additional height.

    Using the hefty old spikes on the top of the stump as registration/anchor points, I created a thick sandwich of plywood and worktop sections. A final piece of plywood on the top – cut to match the rough shape of the base of the new anvil – provides some lateral stability, along with a short section of metal tube in the centre that will slot into a metal hole on the base of the anvil itself. Et voila!

    Leaving aside the temporary softwood wedges that I used to level up the whole arrangement (and which will be getting replaced with something better in due course) I think the whole thing worked rather well. And the newly cleaned and rust-treated anvil fits beautifully, even if I say so myself.

    The one remaining job on this is to anchor the anvil in place. The little cut-out recess that it sits inside and the metal insert in the centre will help to stop it sliding sideways, but there still needs to be something to stop it jumping a bit if I need to do any seriously heavy hammering. One option would be to create staples over the corners using coach bolts and bits of steel, but another option that is often used is to chain it down. I’ve already bought a length of suitable anchor chain (as used on small boats – not supertankers!) and will be wrapping that around the waist of the anvil and attaching it to hooks and adjustable shackles that I will drill into the sides of the stump. This will not only hold the anvil in place, but can also help mute its ring a little since, while most of this anvil isn’t too noisy, striking anything on the bick (a.k.a. the horn or, if you prefer, the pointy bit at one end) does tend to emit a surprisingly ear-piercing “Ting!” at the moment.

    And once that’s done, I’ll be firing up the forge! But that’s a story for another day…


  • Underneath the spreading chestnut tree…

    Underneath the spreading chestnut tree…

    No, this isn’t going to be a post about old nursery-rhyme songs, Winston Smith, Mr Charrington and 1984, apposite as that might be when it comes to current times and trends in UK and US politics. Instead, it’s a reference to a poem by Longfellow, entitled “The Village Blacksmith”, the first verse of which runs:

    Under a spreading chestnut tree

    The village smithy stands;

    The smith, a mighty man is he,

    With large and sinewy hands;

    And the muscles of his brawny arms

    Are strong as iron bands.

    Now, I suppose I could pass as a mighty man (in a certain light) and my hands are large-ish and somewhat sinewy. I’m not too sure about my brawny arm muscles being strong as iron bands (not yet anyway) but I suppose two out of three isn’t bad. More importantly, there is a spreading chestnut tree outside and, under it, you will indeed find the village smithy. Our current home was the “Drummore Smiddy” for probably the best part of a century, although the forge fell into disuse around twenty years ago. Almost everything is still there though (but for the anvil) and, ever since moving in last year, I have been increasingly fascinated, tempted and inspired by looking at the old forge and the assortment of dusty and rusting tools and equipment around it.

    I’ve always been fascinated by machinery and devices made from metal and I definitely have more of an affinity with metalwork than, say, woodwork or stonework. Under the circumstances (and with new and exciting creative ideas buzzing around in my head like never before) it made sense for me to find a blacksmithing course where I could learn some of the basics and not only find out whether I really liked it but also discover whether or not I’d be any good at it.

    Enter a great guy by the name of Andy McKenzie of Feather Forge in Glasgow. I have now done two one-day training courses at Feather Forge, as well as attending a five-day intensive workshop that he held earlier this year up near Lochgoilhead. So far, I have learnt the basics of forge and fire management, hammer technique, a bit of tool-making and the various other basic skills required around the blacksmith’s forge. And I absolutely love it to bits. It’s exciting and interesting and inspiring and just immense fun! I wish I’d done it years ago and – as I say in my About page – I finally know what I want to be when I grow up.

    Next step is to bring Drummore Smiddy (or Finefiew Forge as it’s going to be called) back to life. It’s going to take a lot of time and effort, possibly a fair bit of cash and I’m going to have to keep developing and honing my skills along the way. Wish me luck!